
FBA Inventory Adjustments Explained for Amazon Sellers

An FBA inventory adjustment is a ledger entry Amazon posts whenever your fulfillment center count changes outside a normal sale, whether a unit gets lost, found, damaged, or transferred between warehouses. The moment you spot one, your first move should be pulling your Inventory Ledger, not guessing.
Here’s what to check right now, in order:
- Open the Inventory Ledger or Inventory Adjustments report and export it as a CSV before you do anything else.
- Check the Closed shipments tab and Reimbursements report to see if Amazon already settled the discrepancy without you noticing.
- Confirm where you stand on the clock: many claims now carry only a 60-day filing window from the adjustment event, down from the 18 months sellers used to rely on.
- Isolate entries coded M, E, D, or Q since those are the reason codes most likely to be reimbursement-eligible.
- Start gathering proof of ownership and delivery documents now, even before you know if you’ll need them.
Key Takeaways
Amazon inventory adjustments require prompt Inventory Ledger review, correct reason-code filtering, and fast case filing within the now-60-day window to recover eligible losses.
| Point | Details |
|---|---|
| Check the ledger first | Pull the Inventory Ledger and Inventory Adjustments report before assuming a loss is unrecoverable. |
| Know your codes | Focus on M, E, D, and Q reason codes since these carry the highest reimbursement eligibility. |
| Respect the timeline | Wait 14 days after delivery, then file within the roughly 60-day claim window. |
| Match the right escalation path | Use Shipping Queue Contents for inbound shortages and ledger reimbursement cases for FC transfer losses. |
| Automate the recurring audit | Beanhawk continuously monitors ledger events and posts confirmed settlements to QuickBooks or Xero automatically. |
Table of Contents
- How Inventory Adjustments Happen: Types and Causes
- Where to Find Adjustment Records in Seller Central
- Your 5-Step Investigation Workflow
- Why Claims Get Rejected and How to Escalate Correctly
- How Reimbursements Show Up and What to Reconcile
- Preventing Adjustments Before They Start
- What Automation and Tracking Tools Actually Do
- A Missing Inbound Pallet: A Realistic Walkthrough
- Deciding When to Bring in Outside Help
- Why Ledger Monitoring Is About More Than Getting Paid Back
- A Faster Way to Stay on Top of Adjustments
- Useful Official Resources
- Sources
- FAQ
How Inventory Adjustments Happen: Types and Causes
Amazon’s warehouse network moves millions of units a day, and every one of those movements gets logged somewhere. Most adjustments fall into a handful of buckets, and knowing which bucket you’re dealing with determines whether you have a shot at reimbursement or you’re just watching an accounting entry pass through.
Lost or misplaced units show up as an M code. A worker scans a box into a bin, the bin gets moved, and the unit vanishes from the system without a corresponding sale. This is the single most common category sellers chase for reimbursement, largely because it’s often reversible: Amazon frequently finds the unit later and posts an offsetting F or N entry.
Found inventory carries F or N codes and represents Amazon locating a unit it previously marked missing. These matter because they cancel out prior M entries, and filing a claim against an M that already has a matching F or N wastes your time and Amazon’s patience.
Damaged inventory gets coded E when it happens inside a fulfillment center, distinct from damage that occurs in transit before Amazon ever takes custody. Damage at the FC is generally Amazon’s liability. Damage that happened at your warehouse or with your carrier before drop-off usually is not.
Disposed units carry a D code, typically triggered by removal orders, expiration, or a seller-initiated disposal request. These are worth double-checking against your own removal history. If you never authorized a disposal, that’s a discrepancy worth investigating.
Disposition changes use the Q code and reflect Amazon reclassifying inventory status, say, from sellable to unsellable, without physically moving or destroying anything. These are easy to miss because no unit count technically disappears, just its condition changes on paper.
Beyond reason codes, root causes tend to cluster around a few operational chokepoints:
- Inbound receiving errors: mismatched carton counts between what you shipped and what the FC scanned in.
- FC-to-FC transfers: inventory moving between warehouses is where units get separated from their tracking data most often.
- Stow and putaway mistakes: workers scanning an item into the wrong bin location, which can trigger a temporary “lost” status.
- Pick and pack errors: units pulled for the wrong order or damaged during packing.
- Customer returns: items returned to the wrong FC or received in worse condition than the return label indicated.
- Removal and disposal requests: your own removal orders occasionally get executed incorrectly.
Roughly one in five inbound FBA shipments arrives short according to industry estimates, and Amazon doesn’t proactively flag most of these for you. If you’re not checking your ledger monthly, you’re almost certainly leaving money on the table.
Where to Find Adjustment Records in Seller Central
Four reports do almost all the work here, and knowing which one to open first saves you a lot of clicking around.
The Inventory Ledger is your primary source of truth. Its Detailed View shows every unit movement chronologically, complete with timestamps, fulfillment center codes, and reason codes. The Inventory Ledger effectively replaced the older Daily and Monthly inventory reports, giving sellers a single chronological record that’s far better suited to building a reimbursement case than the fragmented reports Amazon used to offer.
The Inventory Adjustments report is a narrower slice of the ledger, filtered specifically to show quantity changes. This is usually faster to scan when you already suspect a problem and just want the adjustment history for one SKU.
Manage FBA Inventory gives you status columns (in stock, inbound, researching, unfulfillable) that tell you at a glance whether a unit is sitting in limbo. If you see units parked in “Researching” status for an extended stretch, that’s your cue to dig into the ledger.
The Reimbursements report, found under Payments, shows what Amazon has already paid you for lost or damaged inventory, which you’ll cross-reference against the ledger to confirm nothing slipped through uncompensated.
Here’s how to navigate to each:
- Inventory Ledger: Reports → Fulfillment → Inventory Ledger → Detailed View
- Inventory Adjustments report: Reports → Fulfillment → Inventory Adjustments
- Reimbursements: Reports → Payments → Transaction View, filtered for “FBA Inventory Reimbursement”
- Unit status check: Inventory → Manage FBA Inventory
When you export any of these, watch five columns closely: reason code, FNSKU, fulfillment center code, date, and transaction ID. That transaction ID is what ties an adjustment to its eventual reimbursement, and you’ll need it if you ever have to argue a case with Seller Support. Always export as CSV rather than viewing on-screen. It’s the only format that lets you filter, sort, and run pair-checks without losing data to pagination.
Your 5-Step Investigation Workflow
When a discrepancy catches your eye, working through it in the wrong order burns days you don’t have under the current filing window. Here’s the sequence that actually works.
1. Confirm dashboard and shipment status. Before assuming the worst, check whether the shipment is still “Closed” with a discrepancy flag or has already resolved itself. Sometimes what looks like a loss is just a shipment still in transit between receiving stages.

2. Wait out the eligibility period and gather your documents. Amazon’s own community guidance recommends waiting 14 days after delivery before submitting a research request, since receiving can lag behind the delivery scan. Use this window productively: pull your supplier invoice, packing list, and bill of lading now.
3. Pull and filter Inventory Adjustments for M, E, D, and Q codes. These four reason codes cover the overwhelming majority of reimbursement-eligible events. Sort by SKU and date to group related entries together.
4. Run a pair check. For every M entry, search for a matching F or N entry on the same FNSKU within a reasonable date window. If you find one, Amazon already resolved it internally and no claim is needed. This pairing logic is exactly what separates a real discrepancy from a false alarm, and it’s the step most sellers skip, which is why so many claims get rejected for “already resolved” reasons. A simple VLOOKUP or INDEX-MATCH formula between two filtered tabs handles this in minutes.
5. File the research or reimbursement case with full evidence attached. Once you’ve confirmed a genuine, unmatched loss, submit your case through the correct path (more on that below) with every supporting document bundled into non-editable file formats.
Your evidence folder should include:
- Proof of ownership: supplier invoices and purchase orders showing SKU, quantity, and purchase date.
- Proof of delivery: signed bill of lading for LTL/FTL shipments, or carrier tracking confirmation for parcel shipments.
- Packing lists matching the shipment plan.
- Photos of cartons, pallet configuration, or damage where relevant.
- Files saved as PDF, JPG, PNG, or TIFF. Amazon’s documentation requirements specifically call out non-editable formats to prevent tampering disputes.
Typical resolution timing: Once a case enters researching status, Amazon generally resolves it within 60 days, though simpler cases often close in as little as a week or two. Complex multi-unit or multi-shipment disputes can run the full 60 days before you get a decision.
The window for filing itself has tightened considerably. Since November 1, 2024, the practical filing window for many discrepancy claims dropped to roughly 60 calendar days from the date of the adjustment, a sharp cut from the 18-month cushion sellers used to rely on. If you’re only auditing quarterly, you’re now structurally too slow. Monthly, at minimum, is the new baseline for active sellers.
Why Claims Get Rejected and How to Escalate Correctly
Most rejections trace back to a handful of avoidable mistakes, not some arbitrary Amazon gatekeeping.
- Filing before the 14-day eligibility window closes. Amazon will bounce these automatically since the receiving process hasn’t had time to catch up.
- Filing after the 60-day claim window has expired. There’s no appeal for this one; the case gets closed on a technicality regardless of merit.
- Filing against an M entry that already has a matching F or N offset. This is the single most preventable rejection, and it’s exactly why the pair-check step matters.
- Submitting the wrong file types, like an editable Word document instead of a PDF, or a screenshot instead of an actual scanned document.
- Mismatched SKU or FNSKU information between your claim and Amazon’s own ledger entry.
The bigger issue, though, is choosing the wrong case type entirely. An inbound shipment that arrived short of what you shipped needs the Shipping Queue Contents research request path. A unit that vanished after Amazon already received and stowed it, likely during an FC-to-FC transfer, needs the Inventory Ledger reimbursement case path instead. These are two distinct escalation routes with different evidence requirements, and filing through the wrong one is a fast track to denial even when your underlying claim is legitimate.
If your case gets denied and you believe it shouldn’t have been, use the “Need more help” option rather than simply resubmitting the same case. Reopening with new evidence, specifically a transaction ID and a clear statement of which reason code you’re disputing, gets you further than repeating your original request verbatim.
Pro Tip: Sellers often treat a Receiving discrepancy and an FC Transfer loss as interchangeable because both look like “missing inventory” on the surface. They’re not. Receiving losses point back to your shipping plan and carrier documentation; FC Transfer losses point to Amazon’s internal movement and need ledger-based evidence instead. Filing the wrong type wastes your 60-day window on a case that was never going to succeed.
How Reimbursements Show Up and What to Reconcile
Reimbursements arrive two ways: automatically, when Amazon’s own systems confirm a loss without you lifting a finger, or manually, after you’ve filed and won a research request. Both show up in Payments → Transaction View, and both should also appear line-by-line in the dedicated Reimbursements report.
Valuation is where things get interesting. Amazon typically calculates reimbursement value using its own retail-based estimate rather than your actual sourcing cost, unless you’ve documented that cost elsewhere in your account. That gap can cut both ways: sometimes it overpays relative to your landed cost, more often it underpays, especially on higher-margin private label goods where your true cost sits well below Amazon’s estimate.
Your reconciliation checklist should include:
- Match every entry in Inventory Adjustments against a corresponding line in the Reimbursements report.
- Verify the transaction ID, quantity, and dollar value line up exactly. Discrepancies here are common and worth disputing.
- Post confirmed reimbursements to your books correctly, distinguishing between COGS recovery, inventory write-offs, and other income depending on your accounting method.
- Keep the original ledger export and claim documentation on file as an audit trail, not just the final payout number.
Entering your per-SKU sourcing cost into your accounting system before a loss happens, rather than scrambling to calculate it after the fact, makes a real difference in how confidently you can dispute an underpaid reimbursement. If you’re posting these manually in QuickBooks, building that habit early saves hours during month-end close.
Preventing Adjustments Before They Start
You can’t eliminate inventory adjustments entirely. Amazon’s scale guarantees some friction. But a handful of unglamorous habits at the shipping stage prevent the majority of avoidable ones.
- Record consistent box counts and weigh each carton at the point of carrier pickup, not just at packing.
- Use clear, accurate packing slips inside every carton that match your shipping plan exactly.
- Apply tamper-evident packaging for higher-value SKUs where damage or pilferage risk is elevated.
- Double-check FNSKU labels are correct and scannable before cartons leave your facility.
- Photograph pallet configuration and box counts at the moment of carrier pickup.
- Run random spot checks on a percentage of outbound shipments rather than assuming every batch is fine.
None of these take more than a few extra minutes per shipment, and the payoff compounds. A seller who photographs pallets at pickup has instant proof of ownership and condition the moment a discrepancy shows up weeks later.
Pro Tip: Carrier pickup weight is one of the most underused pieces of evidence sellers have. If your carrier’s recorded pickup weight matches your expected carton weight but Amazon’s received count comes up short, that’s strong circumstantial proof the loss happened after Amazon took custody, which changes which claim path you should use.
What Automation and Tracking Tools Actually Do
Manually auditing a growing catalog against four different reports every month isn’t sustainable once you’re managing more than a few hundred SKUs. This is where dedicated tools come in, and it helps to know what each category actually solves.

Continuous ledger monitors watch your Inventory Ledger in the background and flag new M, E, D, or Q entries as they post, instead of waiting for you to remember a monthly export. Automated reimbursement finders take this further, running the pair-check logic automatically to separate genuine losses from entries Amazon already offset. Accounting connectors post confirmed reimbursements directly into platforms like QuickBooks or Xero, closing the loop between the claim and your books with the help of Osellpa - Clear Profit Tracking & Growth Tools For Amazon Sellers. Manual-audit toolkits are more like advanced spreadsheet templates. They still require someone to pull and interpret the data by hand.
When evaluating any of these, look for real-time alerting, automatic pair-matching, evidence bundling for case submission, and direct journal posting to your accounting platform.
Beanhawk’s approach sits in the automated recovery and accounting-connector category: it monitors inbound shipments and ledger events continuously, and posts confirmed settlements directly into your accounting platform without you manually re-entering transaction data. Automation handles the volume and pattern-matching well. Complex or disputed cases, the ones involving unusual documentation or an escalation, still benefit from human judgment layered on top.
A Missing Inbound Pallet: A Realistic Walkthrough
Here’s roughly how a real case unfolds, start to finish.
- A shipment of 400 units on two pallets gets marked “Delivered” by the carrier, and the shipment later shows “Closed” with only 350 units received.
- The 50-unit gap doesn’t appear as an immediate red flag; it surfaces a week later when the seller pulls their Inventory Adjustments report.
- The seller filters for the affected SKU and confirms no offsetting F or N entry exists for those 50 units.
- They gather the signed bill of lading from the freight carrier, the supplier invoice showing 400 units purchased, and photos of the pallet configuration taken at pickup.
- After the 14-day wait period, they submit a research request through the Shipping Queue Contents path, attaching all four documents as PDFs.
- The case enters researching status, and Amazon resolves it within about three weeks, well inside the 60-day window, issuing a reimbursement based on the documented invoice cost rather than its own retail estimate.
The decision point that mattered most here: submitting through the inbound shipment path rather than a general ledger reimbursement case, since the loss happened before Amazon’s receiving scan, not after.
Deciding When to Bring in Outside Help
Handling this yourself makes sense at low volume. Past a certain point, the math flips.
If you’re moving high monthly volumes, filing multiple research requests weekly, or noticing the same FC losses recurring month after month, manual auditing starts costing more in staff time than it recovers in reimbursements.
Before choosing a service, check:
- Success rate on filed claims, not just claims submitted.
- Direct accounting integration, so recovered funds post automatically instead of requiring manual journal entries.
- Fee structure: subscription pricing is more predictable than a contingency cut of every recovery.
- Data handling and security practices, since these tools need read access to your seller account.
If denials or underpayments are becoming a pattern rather than an occasional annoyance, that’s usually the clearest signal it’s time to automate rather than keep auditing by hand.
Why Ledger Monitoring Is About More Than Getting Paid Back
The instinct is to treat inventory adjustments purely as a recovery problem: find the loss, file the claim, collect the check. That framing misses something bigger. A ledger riddled with small, unresolved discrepancies doesn’t just cost you reimbursement dollars, it quietly corrupts your demand forecasting and your cost-of-goods numbers, because your system thinks you have inventory you don’t, or vice versa.
Treat the ledger as your financial source of truth first and a claims tool second. Sellers who reconcile monthly tend to catch forecasting errors months before they’d otherwise notice a stockout or an inventory pileup they can’t explain. The recovered cash is real, but the cleaner books are the part that actually protects your margins long term.
A Faster Way to Stay on Top of Adjustments
Chasing down every M code, cross-checking F and N offsets, and re-filing rejected cases by hand eats hours you probably don’t have, especially now that the filing window has shrunk to 60 days. Beanhawk continuously monitors your inbound shipments and ledger events in the background, flags eligible losses automatically, and posts confirmed settlements directly into QuickBooks or Xero so your books stay reconciled without extra manual entry.
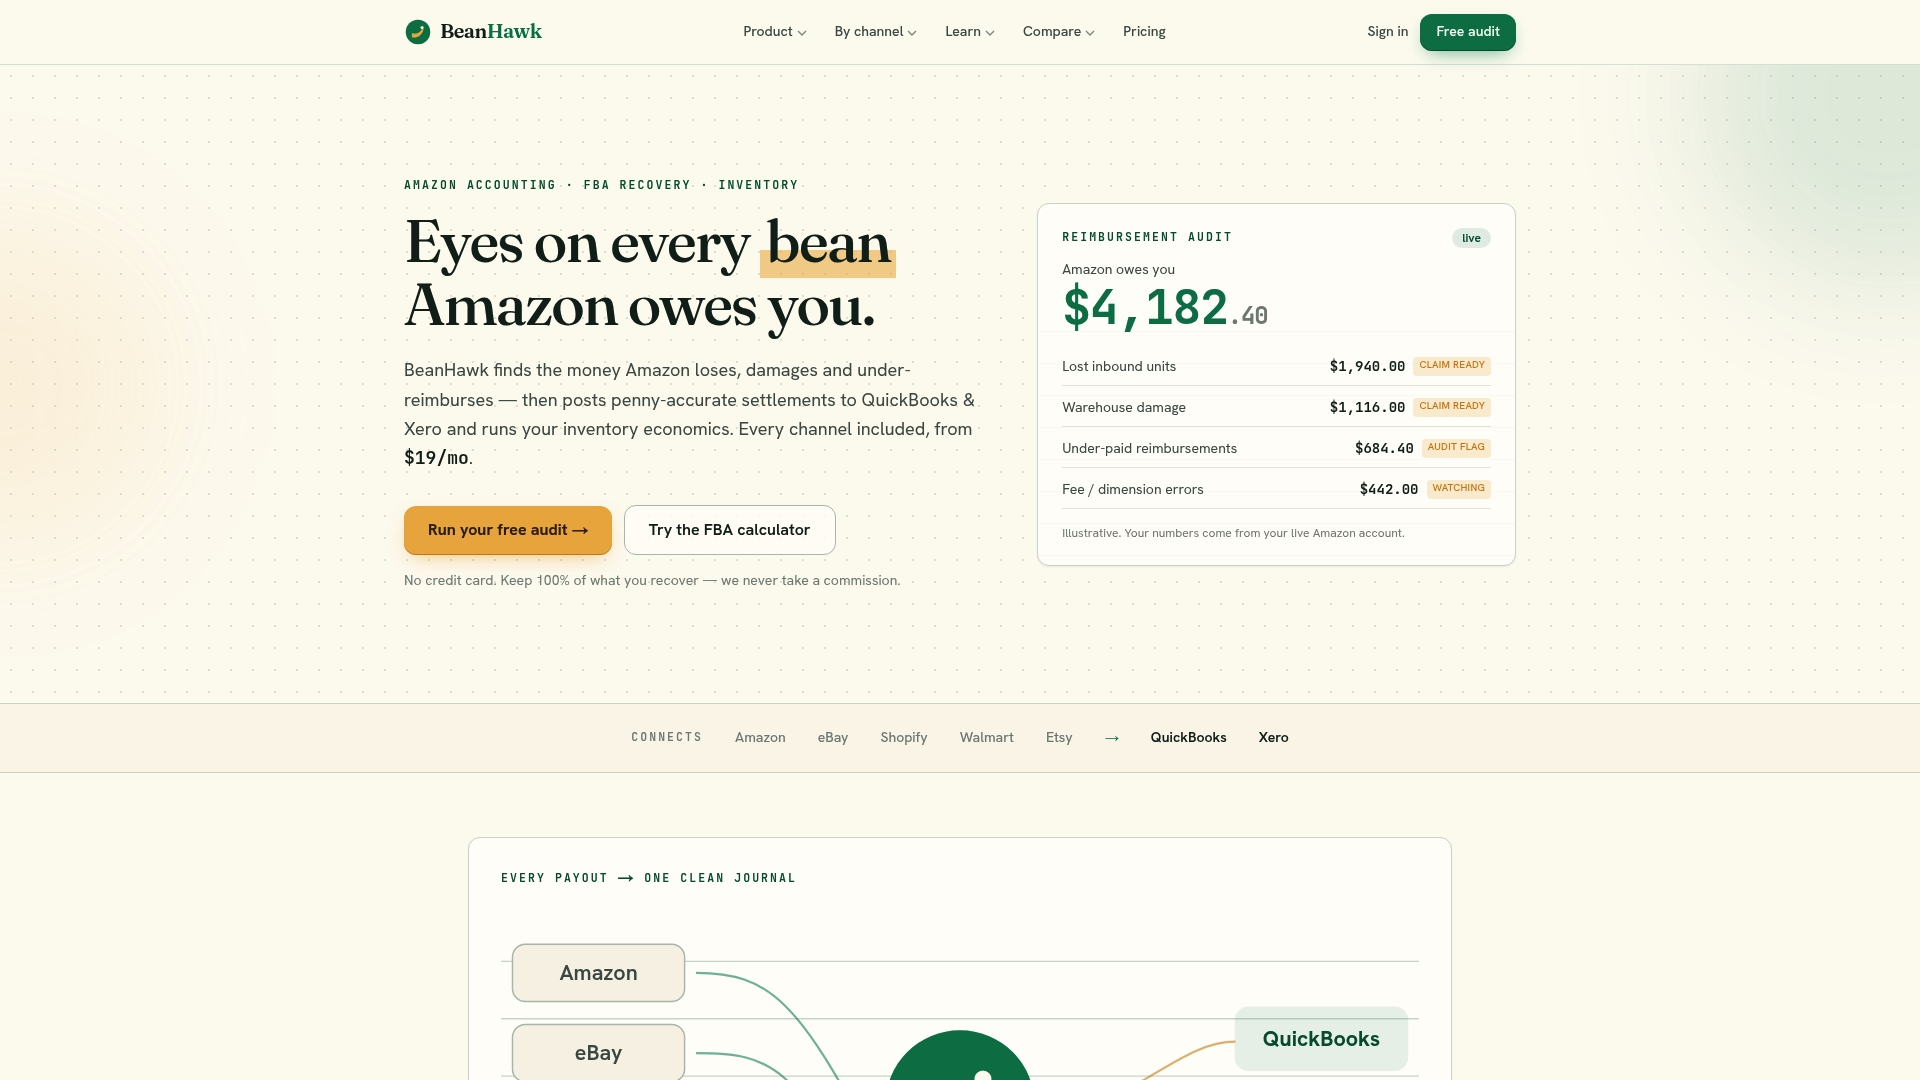
There’s no contingency cut hiding in the fine print and no separate tool you need to bolt on for accounting. If you want to see what’s currently sitting unrecovered in your own ledger, start with a free audit and see whether Amazon owes you for lost or damaged inventory before your next filing deadline passes.
Useful Official Resources
A few official and practical sources are worth bookmarking for ongoing reference:
- Amazon’s Inventory Ledger report explainer, covering how the Detailed View works.
- Seller Central’s help page on escalation paths for inventory discrepancies.
- Seller Central’s reference on inventory ledger reason codes, including M, F, and N definitions.
- A practical FBA reimbursement audit guide walking through the 60-day filing process step by step.
Sources
- Amazon Inventory Ledger report: What it is and how to use it - LegalClarity
- Seller Central help: Escalation paths for inventory issues
- Seller Central forum: filing window change to 60 days
FAQ
How does an inventory adjustment work?
Amazon posts a ledger entry each time a unit’s count or status changes outside a sale, coded by reason (M for missing, E for damaged, D for disposed, Q for disposition change), and sellers must review these entries to catch losses eligible for reimbursement.
What are the biggest FBA inventory mistakes to avoid?
Filing a claim before the 14-day eligibility window closes, missing the 60-day filing deadline, and disputing an M entry that already has a matching F or N offset are the most common, and most avoidable, mistakes sellers make.
Can you give an example of an inventory adjustment?
If a carrier confirms 400 units delivered but Amazon’s receiving scan logs only 350, that 50-unit gap posts as an M adjustment, which the seller can dispute with a bill of lading, invoice, and pickup photos as evidence.
How do I know if Amazon already fixed a missing unit?
Check whether an F or N entry appears in your Inventory Ledger matching the same FNSKU shortly after the M entry; if it does, Amazon already resolved it internally and no claim is needed.
Is automated inventory recovery worth it for smaller sellers?
It depends on volume and claim frequency. Sellers filing only an occasional case may manage manually, but once recurring FC losses or high monthly unit volume make manual audits time-consuming, automated tools like Beanhawk typically pay for themselves in recovered time and reimbursements.