
30,90 Minute Audit for FBA Sellers: Detect Amazon Under Reimbursements

The fastest way to detect Amazon under-reimbursement is to compare the credited amount on your Reimbursements report against your documented per-SKU sourcing cost for the same units, then cross-check the Inventory Ledger and Inventory Reconciliation report for units marked missing or resolved. When a credit is missing entirely or smaller than your landed cost, that gap is your evidence. Gather documentation immediately and file a manual claim through Seller Central or the IDR portal before the eligibility window closes.
TL;DR:
- Sellers should compare credited amounts on the Reimbursements report against actual sourcing costs to identify underpayments, especially if credits are missing or lower than costs.
- Reviewing the Inventory Ledger, Inventory Reconciliation report, and IDR portal together reveals cases where Amazon under-reimburses or fails to pay at all, preventing missed claims.
- Regular audits should be performed monthly or weekly using a spreadsheet or automated tools to catch discrepancies before claim windows close, which are typically around 60 days.
- Submitting supporting documents like purchase invoices and shipment records is essential for manual claims, and using the IDR portal helps avoid double-claims or overlooked cases.
- Automating ongoing monitoring and matching of inbound shipments with financial records cuts down manual effort and ensures continuous detection of under-reimbursement issues.
Table of Contents
- Which Seller Central Reports Reveal Missed Reimbursements?
- What’s the Step-by-Step Process to Detect Underpayment?
- How Do I Read the IDR Portal Correctly?
- How Long Do You Have to File a Claim?
- What Documents Do You Need to File a Manual Claim?
- How Do You Catch Underpayments Before They Pile Up?
- Why Most Sellers Underestimate This Problem
- How Beanhawk Finds the Money Manual Audits Miss
- Sources
- FAQ
Which Seller Central Reports Reveal Missed Reimbursements?
Four reports do almost all the work here, and each one answers a different question.
- Reimbursements report: shows credited amounts, transaction IDs, and reason codes for every case Amazon has already paid, which is your baseline for comparison.
- Inventory Ledger (detailed view): tracks every adjustment, including units marked “located” versus units that were expected but never turned up.
- Inventory Reconciliation report: flags closed shipments with a discrepancy column and lists the eligibility date tied to each one, which matters for claim timing.
- Manage FBA Returns / Customer Returns: separates items customers returned from items Amazon actually refunded, a gap that hides a surprising number of underpaid credits.
- IDR portal: organizes everything above into three statuses, Eligible for Claim, In Progress, and Resolved, with resolution notes explaining why Amazon paid what it paid.
Pull all five before you draw any conclusions. A shortfall that looks obvious in one report often has a simple explanation in another.
What’s the Step-by-Step Process to Detect Underpayment?
Run this as an actual audit, not a casual scroll through Seller Central. The order matters because each step narrows the search.
- Pull the Reimbursements report and filter by date range, SKU, or transaction ID for the period you’re auditing.
- Export Inventory Ledger (detailed) and Inventory Reconciliation for that same window and merge them into one working file. This becomes your source-of-truth document.
- Compare each reimbursement credit against your documented per-SKU sourcing or landed cost. Any credit lower than your cost basis, or any missing entirely, gets flagged.
- Cross-check the IDR portal’s “Eligible for Claim” and “Resolved” tabs against your flagged list so you don’t file a duplicate case for something Amazon already closed out.
- Assemble evidence and file a manual claim for every confirmed gap before the eligibility window closes.
The comparison in step 3 is where most sellers stop looking too soon. An automated credit does not guarantee the correct value , Amazon’s own systems sometimes reimburse against an estimated cost rather than your actual sourcing cost, so a “paid” line in your Reimbursements report can still be an underpayment.
Pro Tip: Build one spreadsheet with four columns per SKU: expected units, located units, reimbursed units, and sold units. The moment reimbursed units fall short of expected minus located, you have a claim to file, no guesswork required.
Running this monthly catches most issues before deadlines close. If you move high volume, tighten it to weekly, since a 60 day filing window disappears fast when you only look every few months. A tool like Beanhawk’s inventory reconciliation approach can automate steps 1 through 4 so the manual work starts only when there’s an actual gap to chase.
How Do I Read the IDR Portal Correctly?
You’ll find the IDR portal inside your FBA dashboard under Inventory, then Inventory Defect and Reimbursement, or by clicking through from the Reimbursements report itself. It aggregates several reports and applies Amazon’s own policy checks to surface cases you might otherwise miss.
The three tabs mean specific things:
- Eligible for Claim: Amazon’s system has identified a defect but hasn’t paid you yet, which means action is likely required on your end.
- In Progress: a case is open, either automated or manually filed, and awaiting resolution.
- Resolved: Amazon has issued cash or inventory back, with a resolution note explaining the reasoning.
Export transaction ID, FNSKU, SKU, reason code, credited amount, and eligibility date for every line. Then match those transaction IDs against your settlement report. If a transaction ID shows as “Resolved” in IDR but never appears on a settlement, the money may not have reached your disbursement, which is a separate problem from underpayment and worth flagging on its own. The IDR portal’s filters for defect type and transaction ID make this matching far faster than scrolling raw reports by hand.
How Long Do You Have to File a Claim?
Timing is where sellers lose the most money, not because the case is weak but because the window closed before anyone noticed.
| Claim type | Typical eligibility window | Notes |
|---|---|---|
| Warehouse lost or damaged | About 60 days from reported event | Verify current windows in Seller Central; many are now automated |
| Customer returns | 60 days or more after refund or replacement | Depends on return disposition |
| Removals and inbound shipping | several weeks | Varies by removal type |
Amazon began proactively reimbursing many warehouse-lost items on November 1, 2024, but that automation doesn’t cover removals or every exception, and it doesn’t always reimburse at the right amount. Since March 2025, reimbursement value has increasingly followed documented sourcing or manufacturing cost rather than sale price. If you never entered a sourcing cost per SKU, Amazon estimates one from comparable listings, and that estimate is frequently lower than your real cost. Enter your actual cost data, and your future credits improve without filing a single extra claim.
What Documents Do You Need to File a Manual Claim?
Amazon accepts non-editable file formats only: PDF, JPG, JPEG, PNG, and TIFF. Skip Excel and Word files unless you export them as PDFs first, since editable formats tend to get rejected outright.
- Purchase invoices showing your actual sourcing or manufacturing cost per unit.
- Shipment creation records and carrier proof of delivery confirming what left your warehouse and when it arrived.
- Shipment contents documentation matching what Amazon says it received against what you actually sent.
- Seller Central shipment events and settlement lines tying the physical units to the financial record.
- The specific Reimbursements report line you’re disputing, with transaction ID intact.
File your claim through Seller Central, then Help, then Contact Us, then Selling on Amazon, then FBA Issue, then FBA Inventory Reimbursement. Include the ASIN, FNSKU, shipment ID, transaction ID, and a short written timeline of what happened. Keep one dated folder per claim with clearly named files. A detailed claim filing checklist helps if this is your first time building one from scratch.
How Do You Catch Underpayments Before They Pile Up?
Reactive claim filing only catches what you already noticed. The better fix is a standing cadence: full audits monthly, tighter weekly checks on your highest-volume SKUs where even small per-unit shortfalls add up fast.
Keep a single source-of-truth file, the same one from your audit workflow, permanently updated with expected units, located units, reimbursed units, and sold units side by side. Any SKU where those numbers don’t line up gets flagged automatically instead of waiting for you to notice during a busy month.
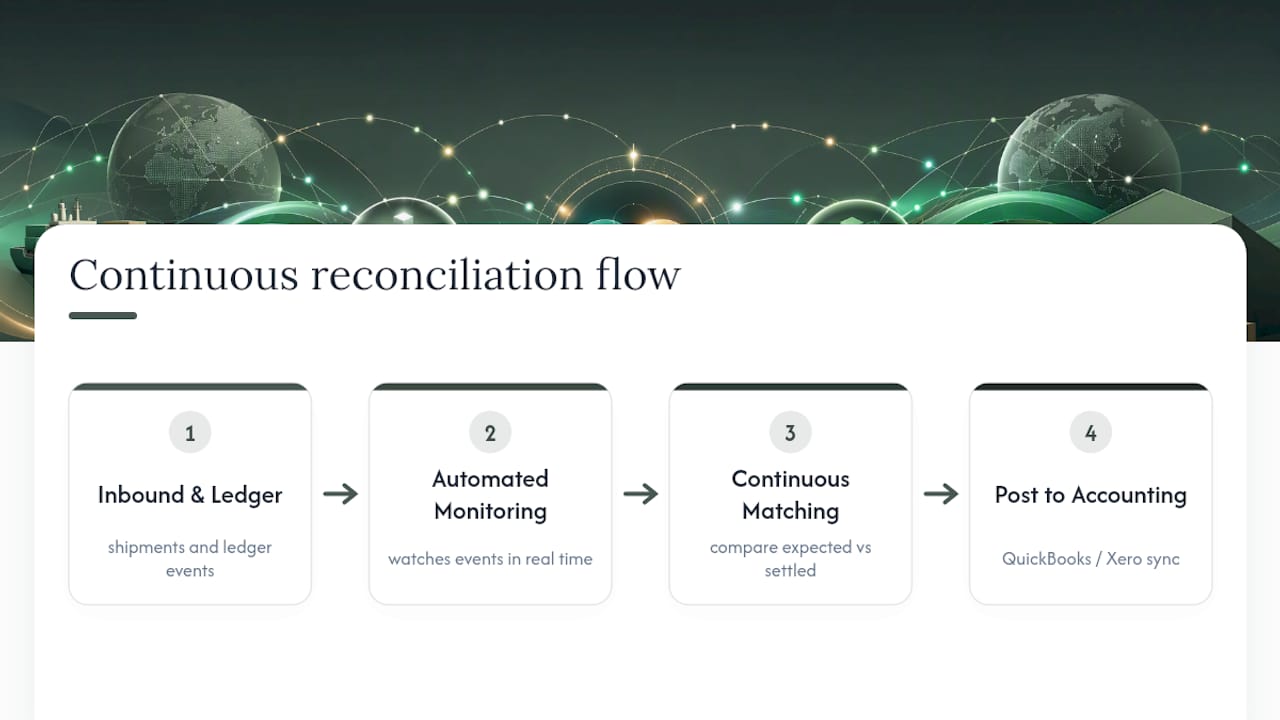
This is also where continuous ledger monitoring earns its keep. Instead of running a manual export every week, automated tools watch inbound shipments and ledger events as they happen, then post settlement data straight into QuickBooks or Xero so your books and your reimbursement records never drift apart. Sound reconciliation practice treats this kind of continuous matching as standard, not optional.
Pro Tip: Enter your documented sourcing cost per SKU in both Seller Central and your accounting system at the same time. When the two numbers match, any reimbursement below that figure jumps out immediately instead of hiding in a spreadsheet.
Why Most Sellers Underestimate This Problem
Reimbursement gaps rarely look dramatic case by case. It’s usually a few dollars here, a missing unit there, and that’s exactly why they survive unnoticed for months. The sellers who recover the most aren’t the ones with the biggest complaints against Amazon. They’re the ones who documented sourcing cost per SKU early and check their reconciliation numbers on a fixed schedule instead of only when something feels obviously wrong.
Automation has changed the math here, not eliminated the work. Amazon’s proactive reimbursements handle a real share of warehouse-lost cases now, but they still lean on estimated costs when sellers haven’t provided their own, and they still skip categories like removals entirely. The defense that actually holds up is documented cost data paired with a monitoring habit you don’t have to remember to run yourself.
Audit your closed shipments this week, not next quarter.
, Tim
How Beanhawk Finds the Money Manual Audits Miss
A monthly spreadsheet audit works, but it only catches what happened last month, and it takes real hours you’d rather spend on sourcing or advertising. Beanhawk is built specifically to close that gap: it continuously monitors inbound shipments and FBA ledger events as they happen, flags under-reimbursed credits automatically, and posts the resolved settlement data straight into QuickBooks or Xero.
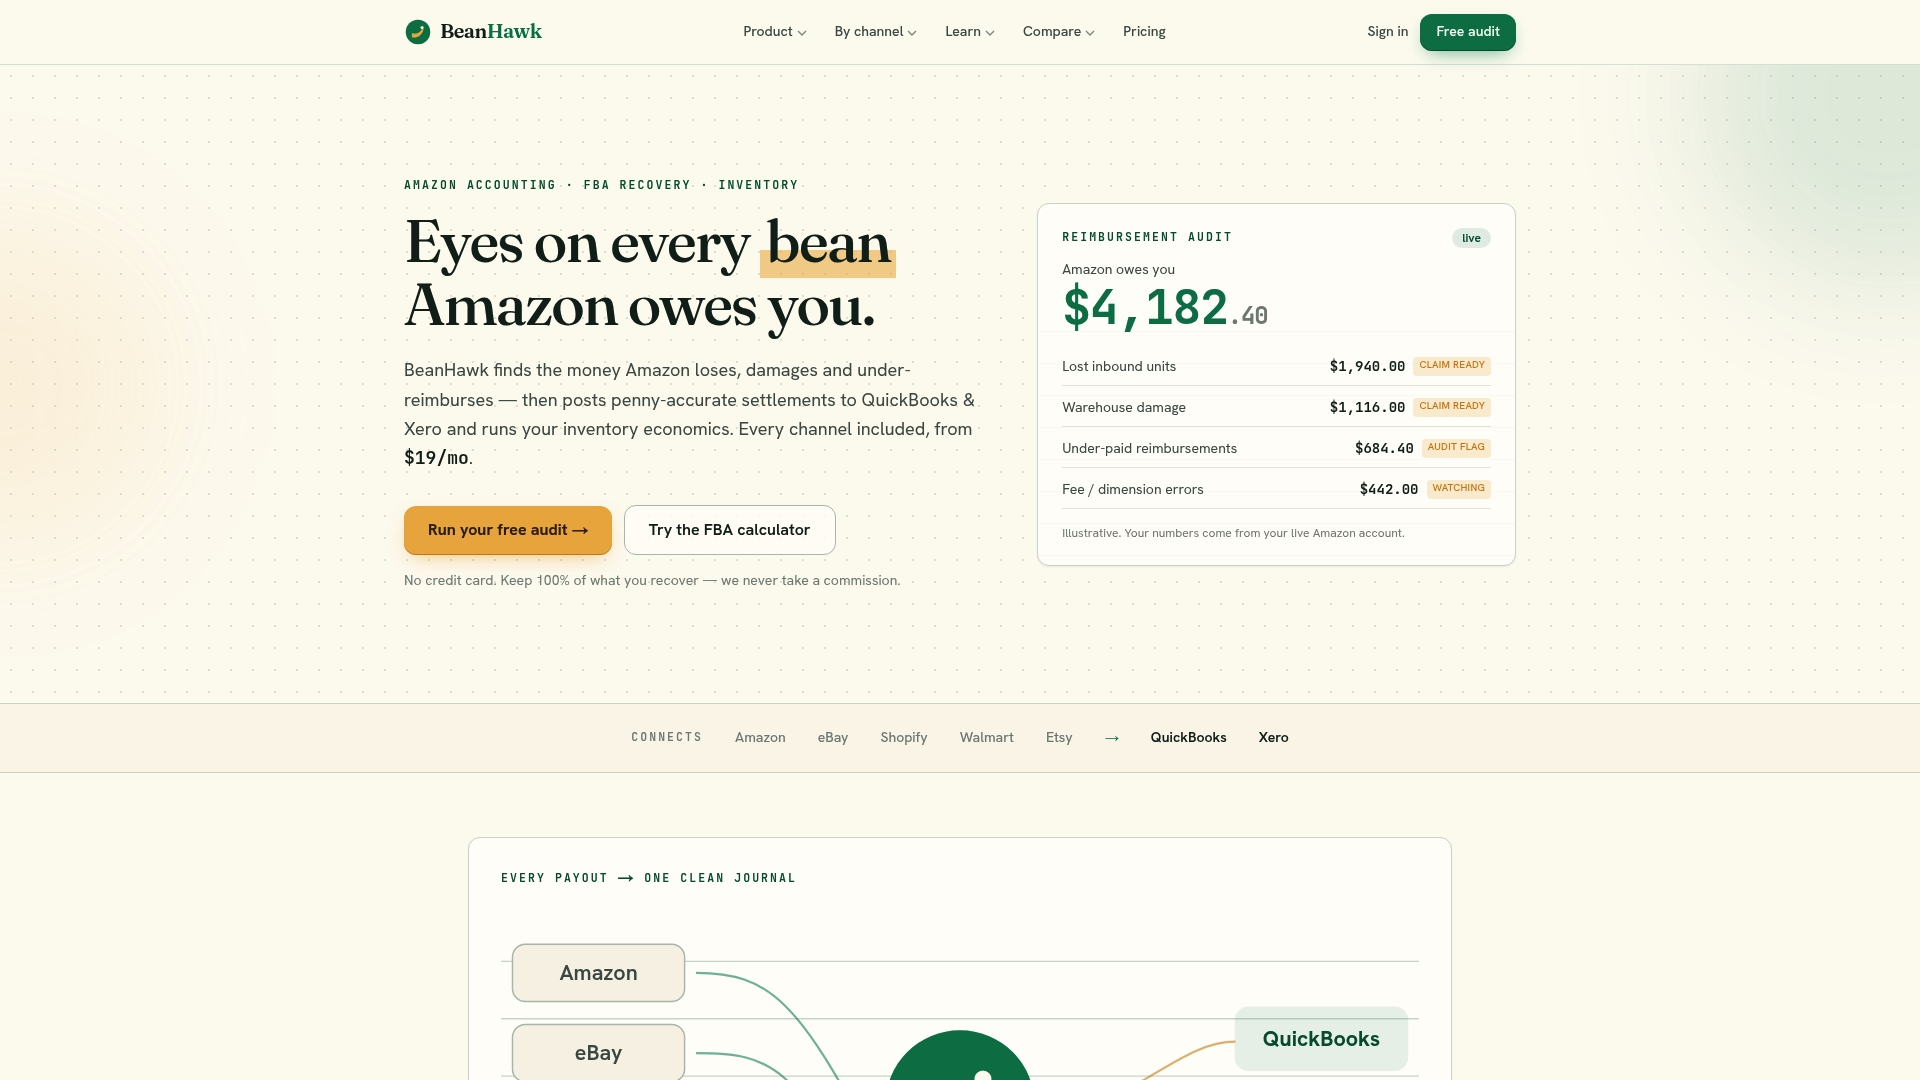
That last part matters more than it sounds. A recovered credit that never syncs to your books just creates a new reconciliation problem, and Beanhawk closes that loop without manual journal entries or a second spreadsheet. The pathway is simple: start with a free audit of your existing account, see what’s actually been missed, then move to a subscription plan sized to your order volume, with no hidden fees or commission taken off whatever gets recovered. For sellers whose books still don’t match their bank deposits, a practical FBA bookkeeping walkthrough is a solid place to start before you connect your account.
Sources
- Update on Reimbursement Automation and Eligibility Window to file reimbursement claims
- Inventory Defect and Reimbursement portal now available
- Roughly one in five FBA shipments arrives short. Amazon will not tell you which one. , FBA Tactics
FAQ
How Does Amazon Reimbursement Actually Work?
Amazon reviews inventory events like lost, damaged, or destroyed units, then credits your account through the Reimbursements report, either automatically for many warehouse-lost cases since November 2024 or after you file a manual claim for exceptions like removals.
How Long Do Amazon Reimbursements Take?
Automated reimbursements for eligible warehouse-lost items often post within days of detection, while manual claims can take several weeks depending on case complexity and how quickly you supply supporting documents.
How Do I Know If I’m Actually Getting Paid Correctly?
Match each line in your Reimbursements report against your documented per-SKU sourcing cost. If the credited amount is lower than that cost or a case appears “Resolved” in the IDR portal without a matching settlement line, you likely have an underpayment worth disputing.
What Should I Do If a Reimbursement Seems Too Low?
Pull your purchase invoices and shipment records, confirm the discrepancy against your Inventory Reconciliation report, and file a manual claim through Seller Central’s FBA Inventory Reimbursement path with your ASIN, FNSKU, and transaction ID attached.